Magento
This article shows you the procedure to enable PayU on your Magento website.
Prerequisites
- You need an active account in PayU Latam.
- Having installed Magento version 1.7.x to 1.9.x.
- Having the PayU’s Magento plugin downloaded and stored in an accessible location. Click here to download it.
- You need access to the folders where Magento is installed.
- You need access to the Magento Admin Panel.
Note
For Magento version 2.0, follow the assisted guidelines offered by élOOm to install and configure PayU in your Magento site. Click here* for more information or email suporte@eloom.com.br for custom assistance.
*This guide is available in Spanish and Portuguese.
Considerations
- Approved payments appear with Processing status in the orders report.
- Once the payment is received correctly, Magento creates an invoice with the associated order.
Installation
Follow the next procedure to install the plugin on your website.
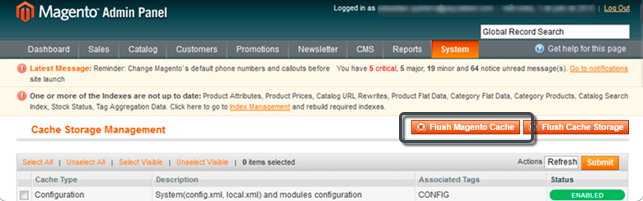
- Log in to your Magento admin panel. Then, expand the System menu at the top and click Cache Management.
In the new window, click Flush Magento Cache.
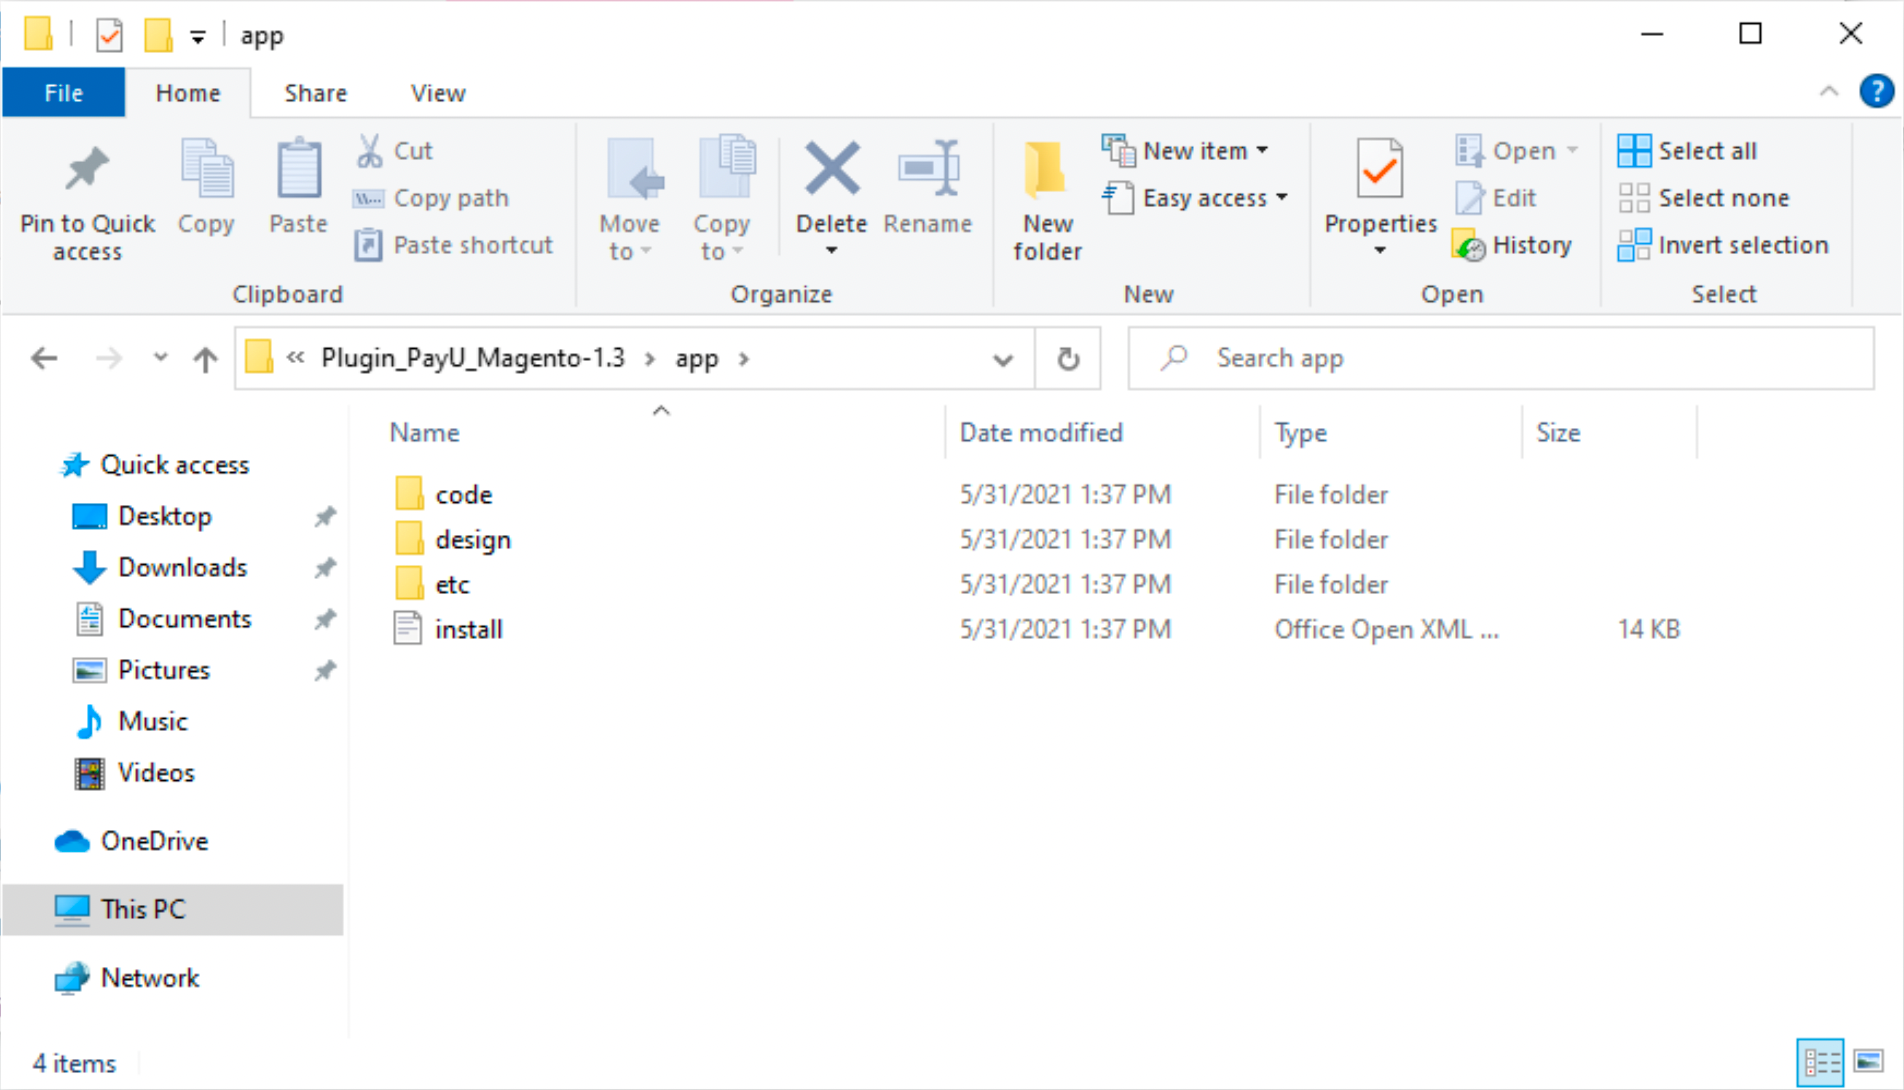
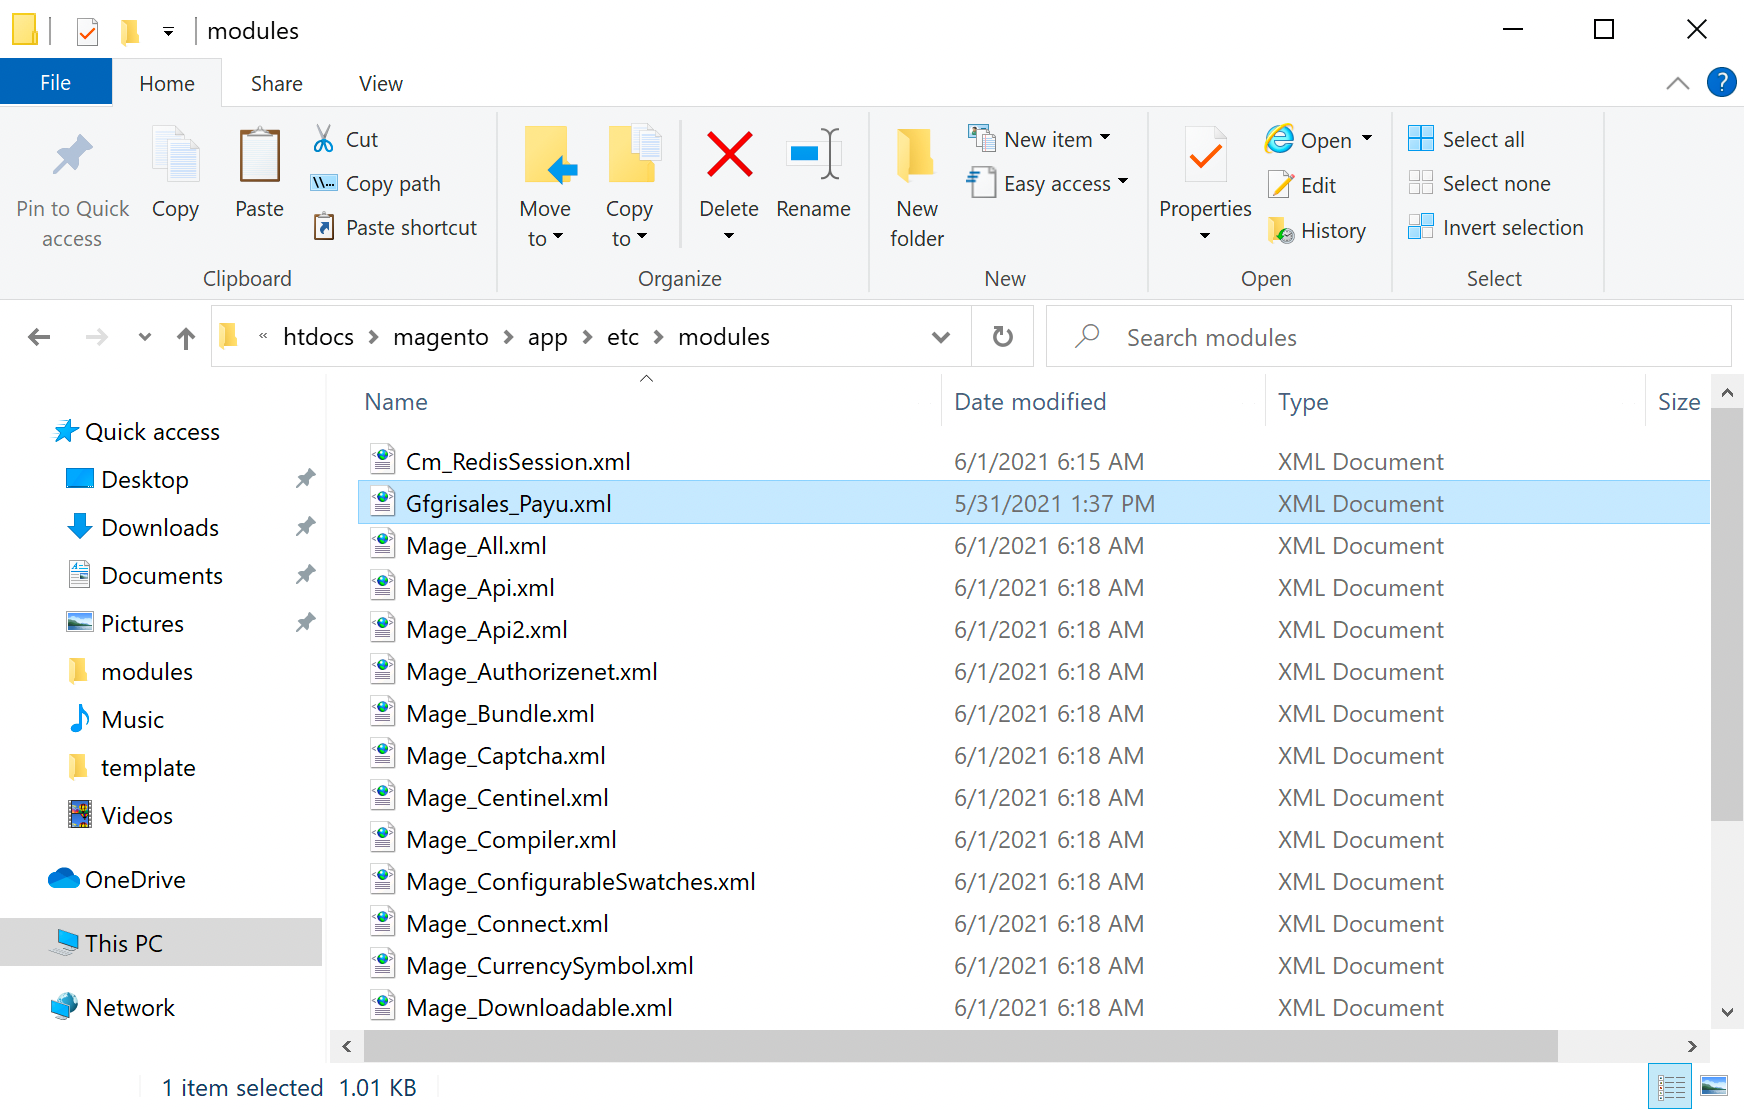
- Unzip the plugin. The plugin folder is called
appand it has the following structure:
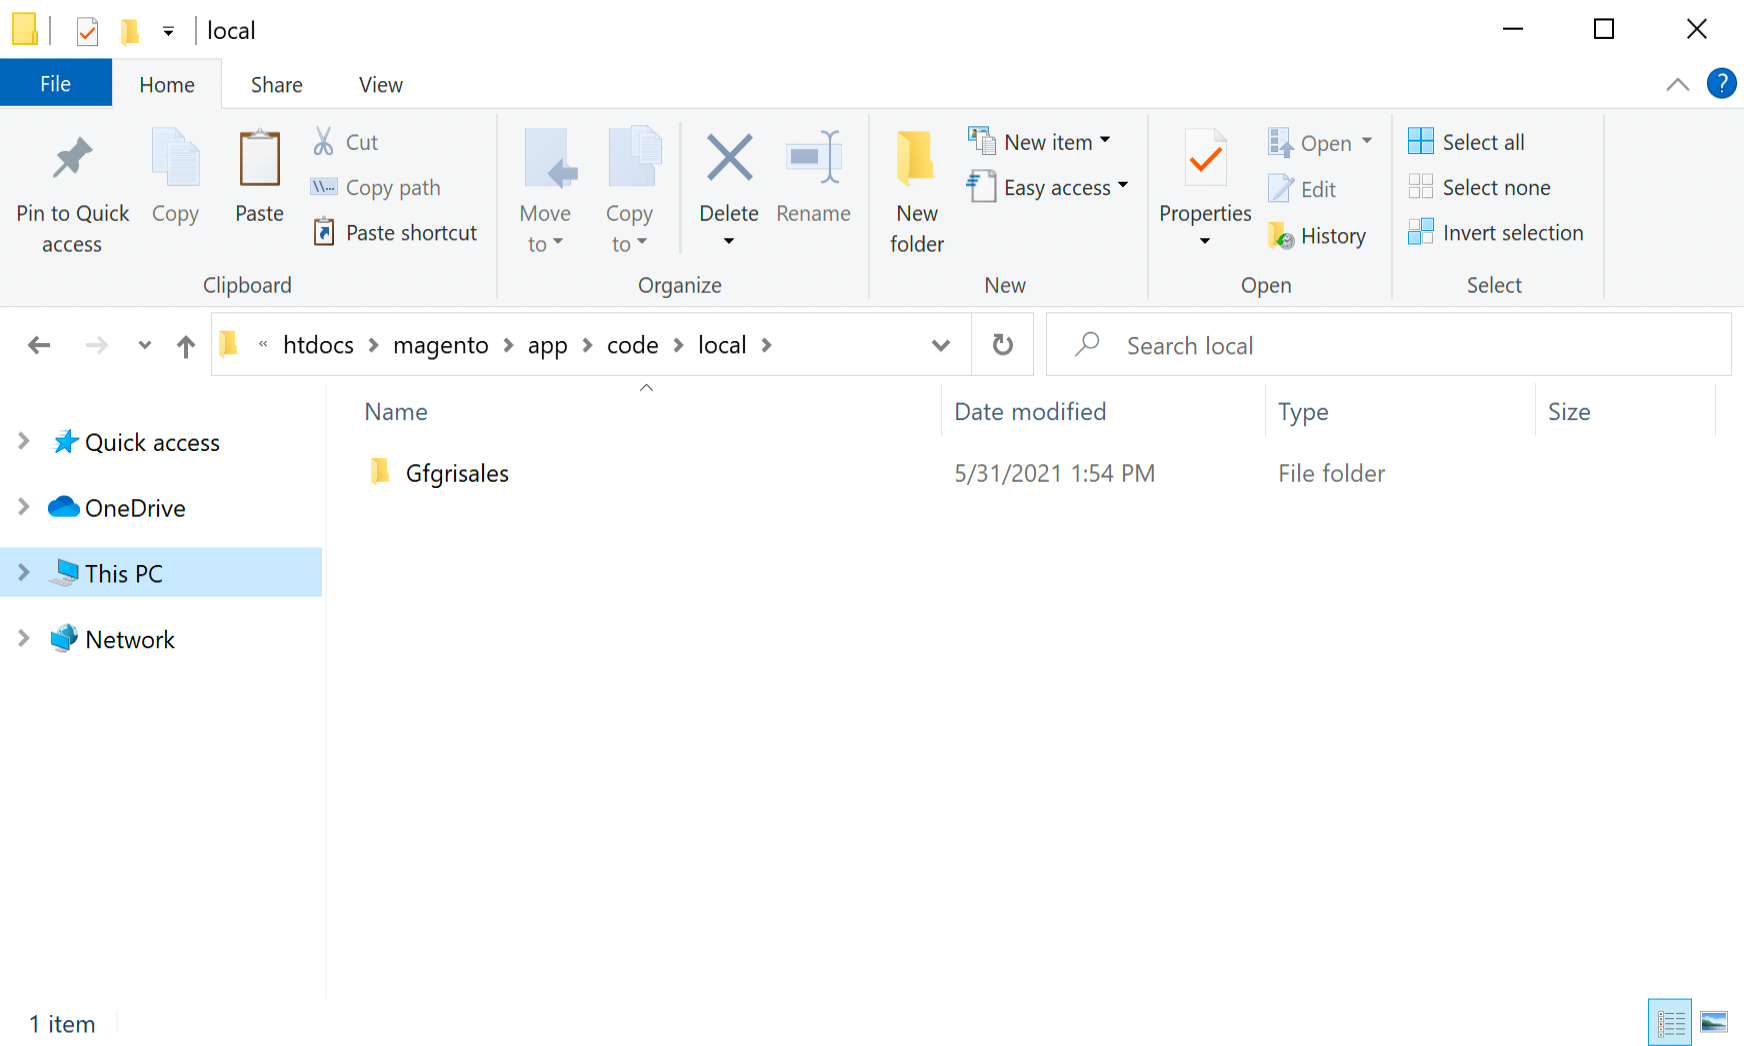
- Navigate to [PluginFolder]\app\code\local and copy the Gfgrisales folder into the \app\code\local folder in the root of the Magento installation folder.
If this structure does not exist in your installation, create it with read and write permissions.
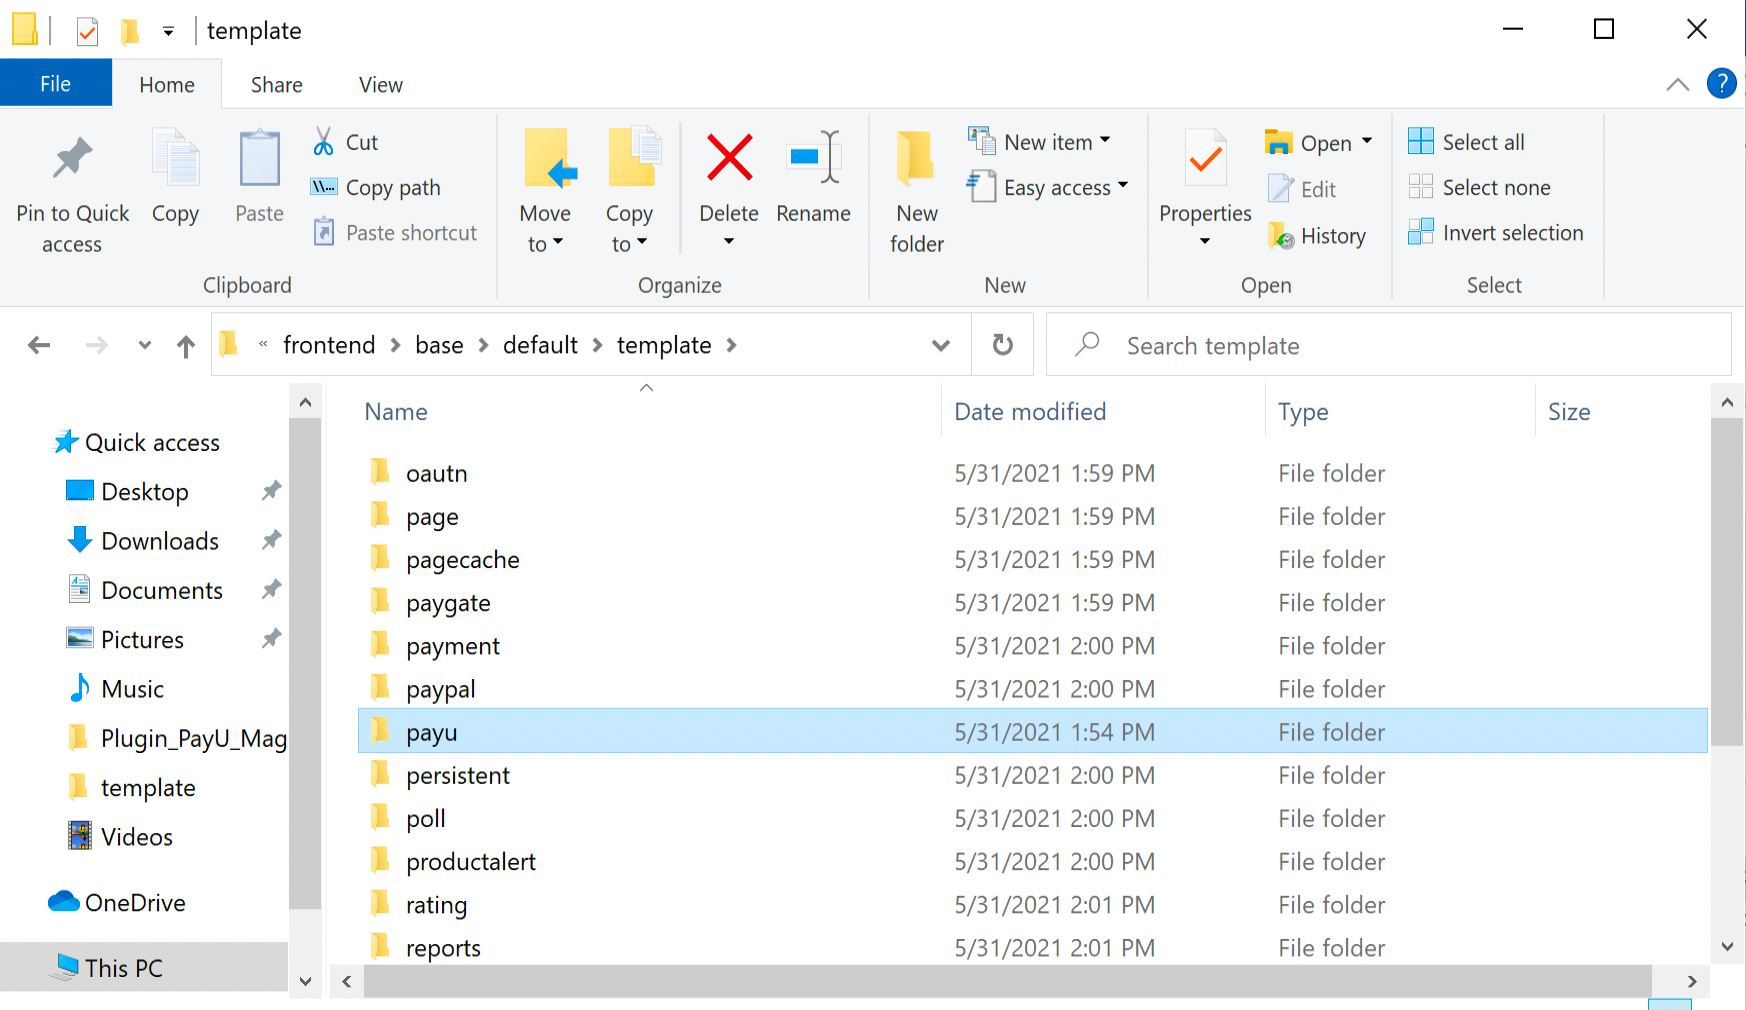
- Navigate to [PluginFolder]\app\design\frontend\base\default\template and copy the payu folder into the \app\design\frontend\base\default\template folder in the root of the Magento installation folder.
- Navigate to [PluginFolder]\app\etc\modules and copy the Gfgrisales_Payu.xml file into the \app\etc\modules folder in the root of the Magento installation folder.
Configuration
- Back in your Magento admin panel, expand the System menu and click Configuration. Then, expand Advanced section in the menu displayed on the left panel and click Advanced option.
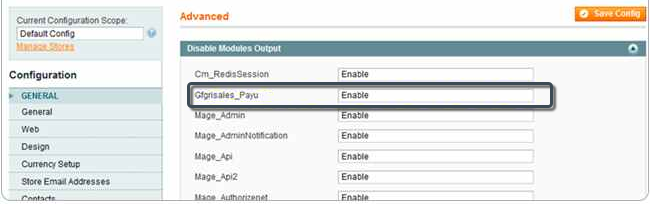
Click Disable Modules Output and check that the PayU extension called Gfgrisales_Payu is enabled.
- In the Configuration menu on the left panel, expand Sales section in the menu displayed on the left panel and click Payment methods option.
Find and expand the PayU method and provide the information of your PayU Account.
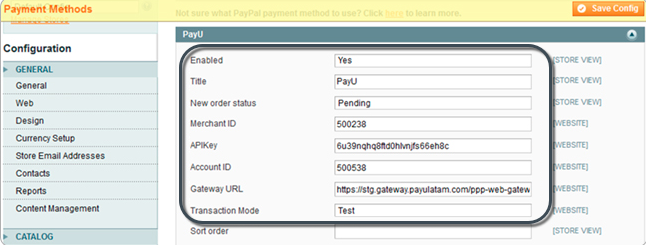
- Merchant ID: ID of your commerce in PayU Latam.
- APIKey: Unique key of your commerce, you can get this information in your PayU Module (Settings > Technical configuration > API Key).
- Account ID: ID of the PayU account according to the country where you want to sell.
- Gateway URL: Gateway URL.
- For test, use https://sandbox.gateway.payulatam.com/ppp-web-gateway
- For production, use https://gateway.payulatam.com/ppp-web-gateway/
Note
For testing purposes, you can use the Merchant ID, APIKey, and Account ID available in Test Your Solution.
Once you are in the credit card payment form, and ensuring that you have the message at the top of the gateway Transaction in test mode, you must:
- Enter the text
APPROVEDin the Full Name field if you want the transaction to be approved,REJECTEDif you want it to be rejected orPENDINGif you want it to be pending. - You must enter a valid card number in the Card Number field according to the selected franchise. For this, you can use an online credit card generator.
- All other fields can be random.
Once finish, click Save Config to apply changes.
At this point, your customers can pay with PayU Latam when they do the checkout in the Magento’s shopping cart.
Last modified
February 9, 2022:
Changes from PRD environment (e098c823)